Monday, June 9, 2014

Z Week

I can’t believe we have gone through the entire alphabet!  This year has flown by, and we have had so much fun exploring all of the letters of the alphabet!!  Life has started to get busier as summer is near; so once again, I spread the letter Z out over two weeks so we could take time to really enjoy our last letter.   

We started Monday by learning the songs, poem, and Bible verse that go along with the letter Z.  We talked about the z sound, came up with words that start with the letter z, and then Brooklyn practiced writing z’s on her chalkboard.  Next, Brooklyn made her Zebra Z.  I had cut a large z out of white paper and then cut strips of black paper for her to glue on her z for the zebra stripes.  The easiest way to do this is to leave the black strips long, let the child glue them on the z, then trim the stips of paper to match up to the shape of the z.  After her zebra’s stripes were trimmed up, Brooklyn glued the z to her paper and then used the black paper scraps to glue around her zebra to make his mane.  She also glued on an ear and drew on an eye and nose.  
The strips of black paper on her Z before she glued them on


Tuesday was all about the zoo.  We started by singing The Zookeeper Song then we read Goodnight Gorilla.  We talked about the different animals that live in the zoo.  We have the Melissa and Doug zoo animal stamp set which Brooklyn loves!  I gave her a piece of paper (she chose to use yellow) and a strip of green paper.  I let her start by cutting slits in the green paper to make grass to glue on the bottom of her paper.  She loves to use scissors so this was a good way to let her practice!  She then used her stamps to fill her “zoo” with animals.  She decided to put four of each animal - a mommy, daddy, Brooklyn, and Madelyn.  To finish off our zoo, Brooklyn helped me punch holes in the top and bottom of the paper (I helped her line up the top and bottom holes).  She then laced yarn through the holes to make a gate around her zoo animals.  Lastly, she glued on a “zoo” sign to the top.
Stamping the animals in the zoo.
Lacing the yarn to make the gate of the zoo.
The back of the zoo picture to show how she laced it. 

On day 3, we talked about zebras.  We looked at pictures of zebras on google and said the Three Little Zebras poem.  I gave Brooklyn a print-out of what looked like a horse.  I told her it was a zebra and asked her what was missing.  She quickly told me that her zebra needed black stripes.  Before adding stripes to her zebra, she used a sparkly pen (which always makes things fun) to trace the letters in the word “zebra” at the top of her paper.  I then gave her some water color paint which she used to add black stripes to make the horse a zebra.  We then said the poem again and used our fingers to act it out.  As each zebra galloped away, we would put down a finger.  Once all of the zebras were gone, I asked her how many we had left.  She said “none,” and I realized I have never really taught her the number zero.  She quickly caught on and soon, we were counting from 0-10 and then back down from 10-0.  We also did a few subtraction games that involved the number 0.  For example, I would give Brooklyn 7 (pretend) cookies and takeaway 5.  She would tell me that she had 2 left.  Next, I would take away 2 cookies.  She would then tell me she had 0 left.  The rest of the day, she went around talking about the number 0.  I love her excitement when she learns something new!

We combined the zig zag activities and the Zacchaeus lesson on day 4 to complete the letter Z.  First, I gave Brooklyn the zig zag print-out and let her start by tracing the zig zag lines.  After she traced each one, she practiced her scissor skills by cutting along the zig zag lines.  It was a little difficult for her to trace and cut in a zig zag pattern as opposed to a straight line, but she caught on by the third line each time.  Next, we read the story of Zacchaeus from her Bible and sang the Zacchaeus song.  I printed out a small picture of Zacchaeus which she colored, and I cut out.  I traced her hand and arm on piece of paper to make a tree which she colored with markers.  She wanted to add Jesus to her picture so she drew Him at the bottom of the tree.  (She was very careful to add “hair to His face.”  Apparently, that’s a very important part of a portrait of Jesus.) Lastly, we did a simple trick to complete this craft.  I taped the end of a small popsicle stick (horizontally) to the back of Zacchaeus.  Next, I opened up a pair of scissors and cut a vertical slit up Brooklyn’s paper (from the middle of the tree trunk to the middle of the “hand” of the treetop).  We slid the popsicle stick through the slit so that she could make Zacchaeus climb up and down the tree.  She thought this was the coolest thing.  She then told me the story of Zacchaeus while making her Zacchaeus first climb up the tree to see Jesus and then climb down when Jesus told him to come down.  
Tracing the zig zags
Cutting on the zig zag lines
Here's how I taped the popsicle stick on the back of Zacchaeus.
This shows the slit and where to put the popsicle stick.

For details and instructions of these crafts and activities, please click to see my lesson plans.  If you have more ideas for the letter Z, please comment and share - I would love to hear them!!

Wednesday, June 4, 2014

Y Week

We spent a lot of Y week talking about all the things in the world that are yellow.  Brooklyn really enjoyed the Something Yellow song, and we sang it a lot this week - while going on walks around the neighborhood, while playing in our backyard, and while walking around the house.  Our verse was Matthew 5:14 “You are the light of the world.”  We talked about how God is the light of the world just like the yellow sun lights up our world here on earth.  

On Monday, Brooklyn glued together her Y Yak then added on his eyes with a marker.  She also did her Y dot picture, practiced writing Y’s, and had fun learning our new verse, song, and poem.  

Tuesday was a lot of fun.  We started by saying the Yarn Poem and talking about things that we have that are made of yarn - we found a hat, scarf, blanket, baby booties, and mittens.  Then we used some yarn to make our craft.  I found some wooden triangle blocks, that are part of a game we have, to use for our yarn stamping.  I didn’t want to get paint on them, so I covered them in saran wrap that I secured with tape.  I then gave Brooklyn some yarn and had her wrap it around the blocks to make different patterns.  Once she was finished, I taped the yarn on the back so that it would stay put.  Brooklyn chose to use pink and purple paint for her yarn stamps.  She dipped her first stamp in purple paint and stamped it all over her paper to make a really cool design.  She then did the same thing with the other stamp in the pink paint.  I really liked how this craft turned out!  Next, we headed outside for some yo-yo fun.  I filled up a water balloon and attached a rubber band (which I had cut to make a string rather than a circle). Brooklyn had tons of fun boinging her yo-yo up and down!  It was a warm morning outside so when the water balloons popped, it made things extra fun!  
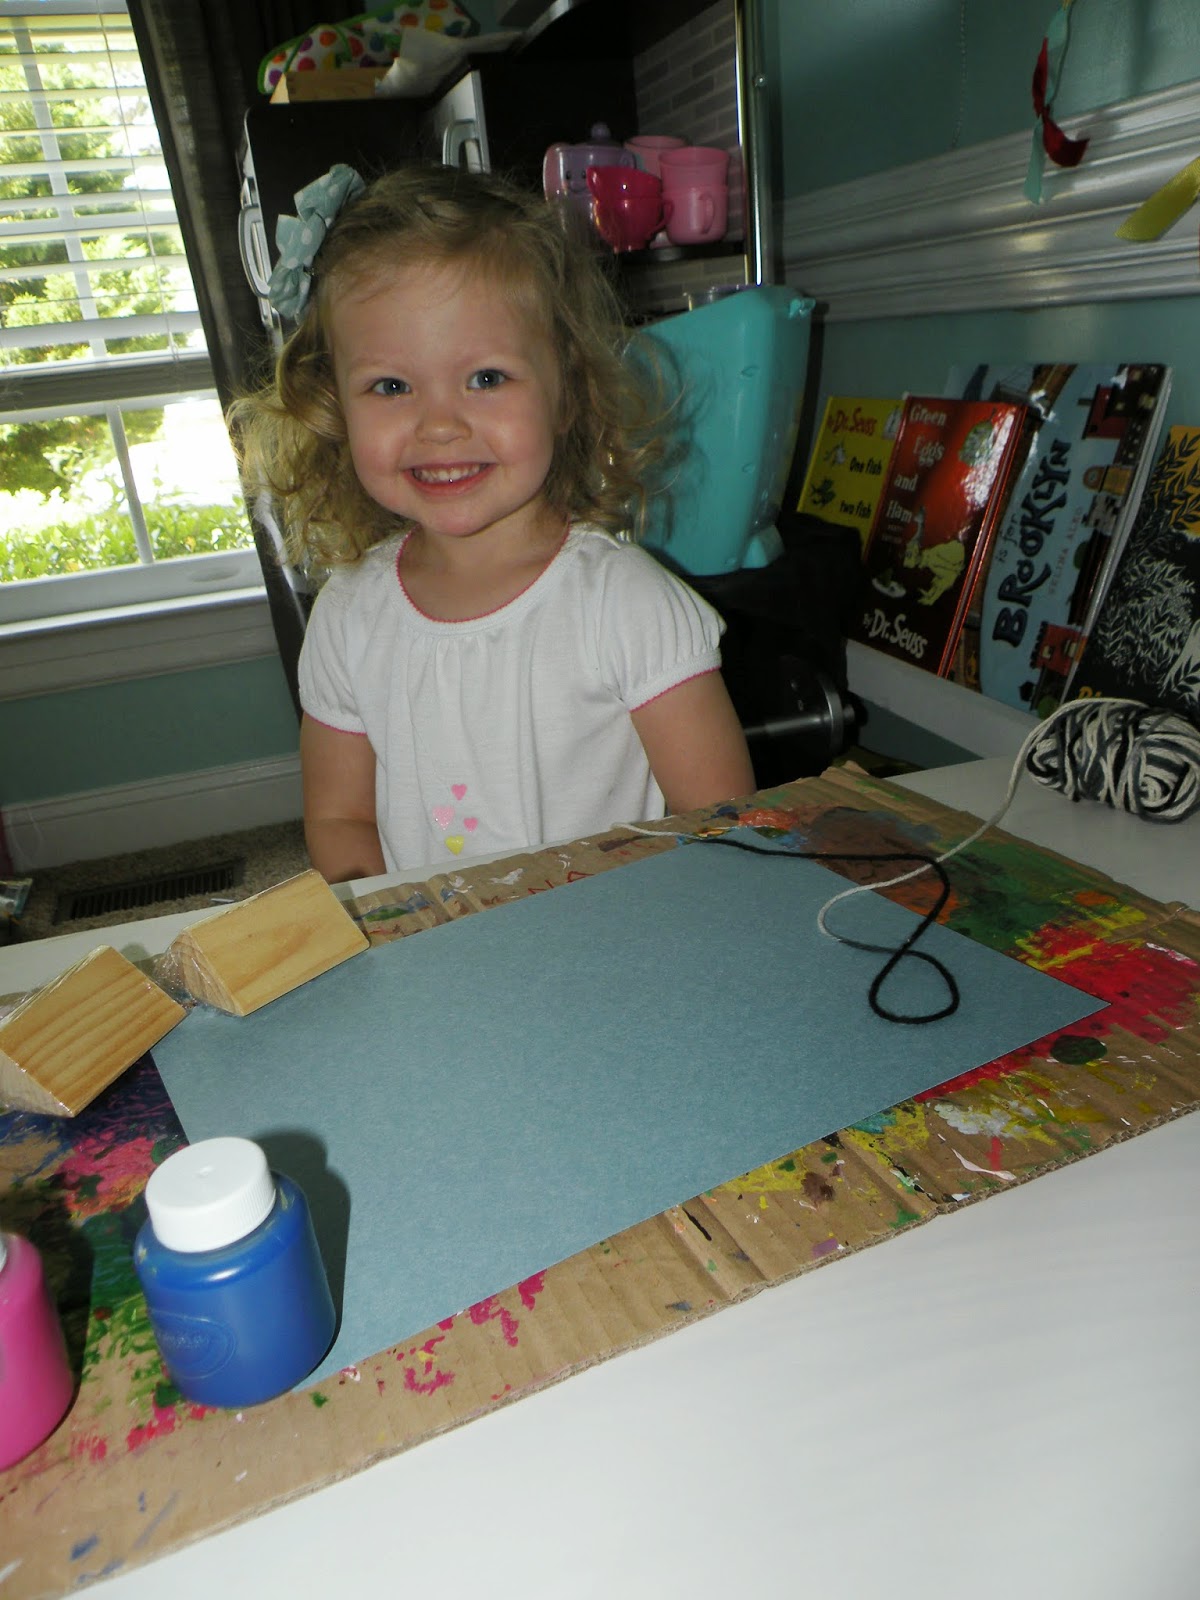
Brooklyn's yarn block patterns 


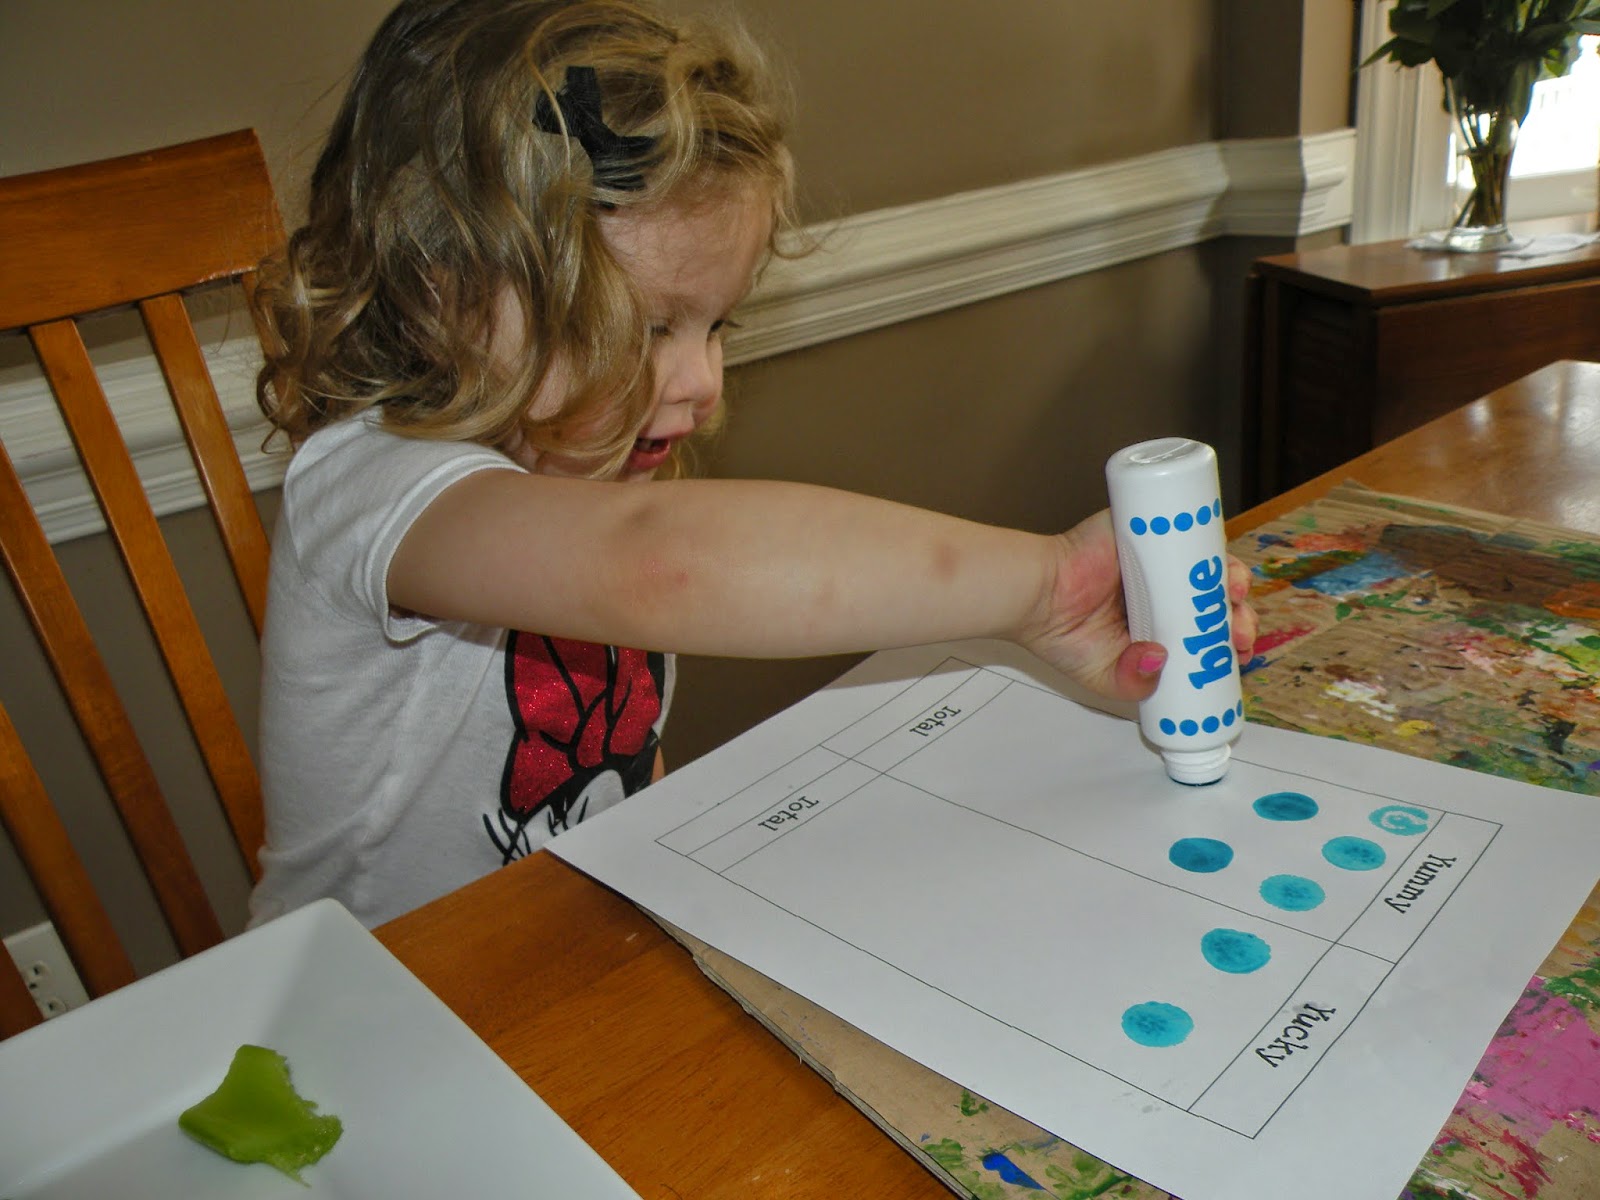
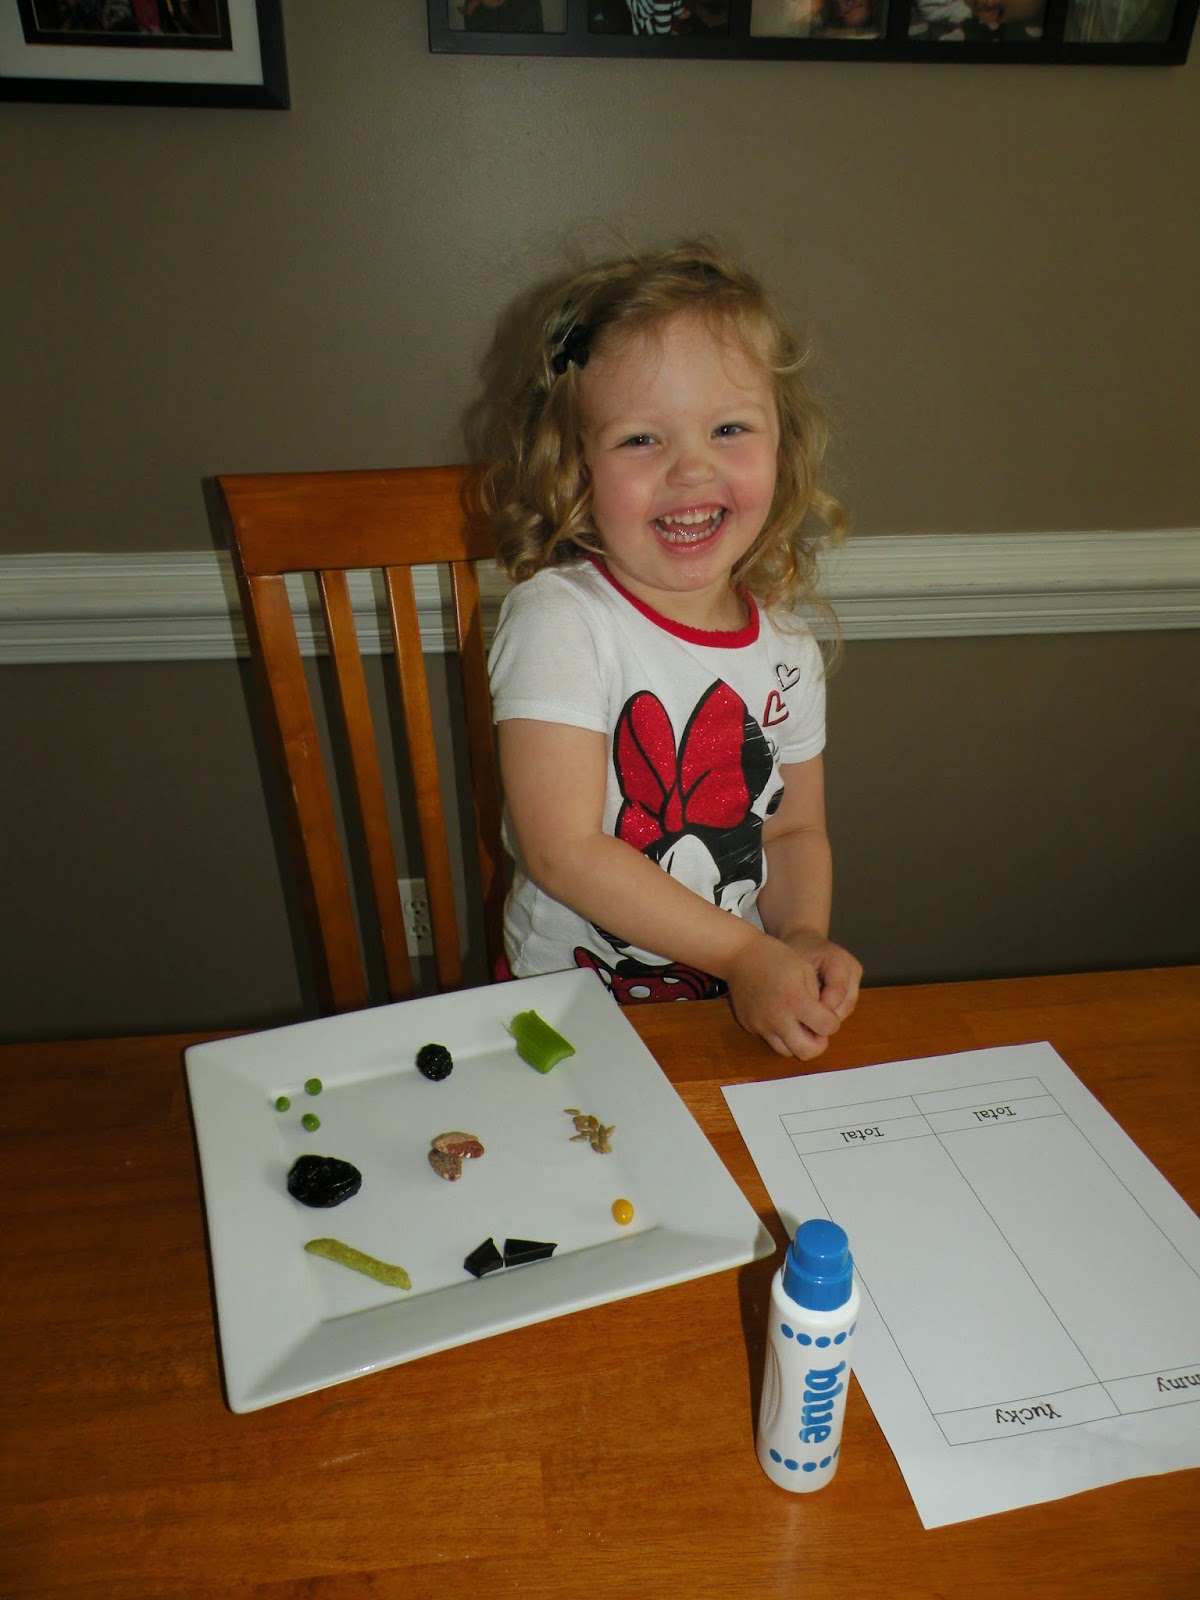
Wednesday we had a taste testing of some different foods for snack time.  I printed out a yummy vs. yucky chart that we used to keep track of the foods that Brooklyn liked and the ones she did not.  The foods that she had were a prune, a blackberry, dark chocolate, celery, peas, a jellybean, cinnamon pecans, a green bean chip, and sunflower seeds.  After she tasted each food, she would decided if she thought it was yummy or yucky, then she would use her do-a-dot marker to make a dot under the correct column.  In the end, she thought everything was yummy except for the celery and blackberry.  I then had her count up the dots in each column and tell me which column had more and which one had less.  I wrote the total numbers in the bottom row of her chart.  

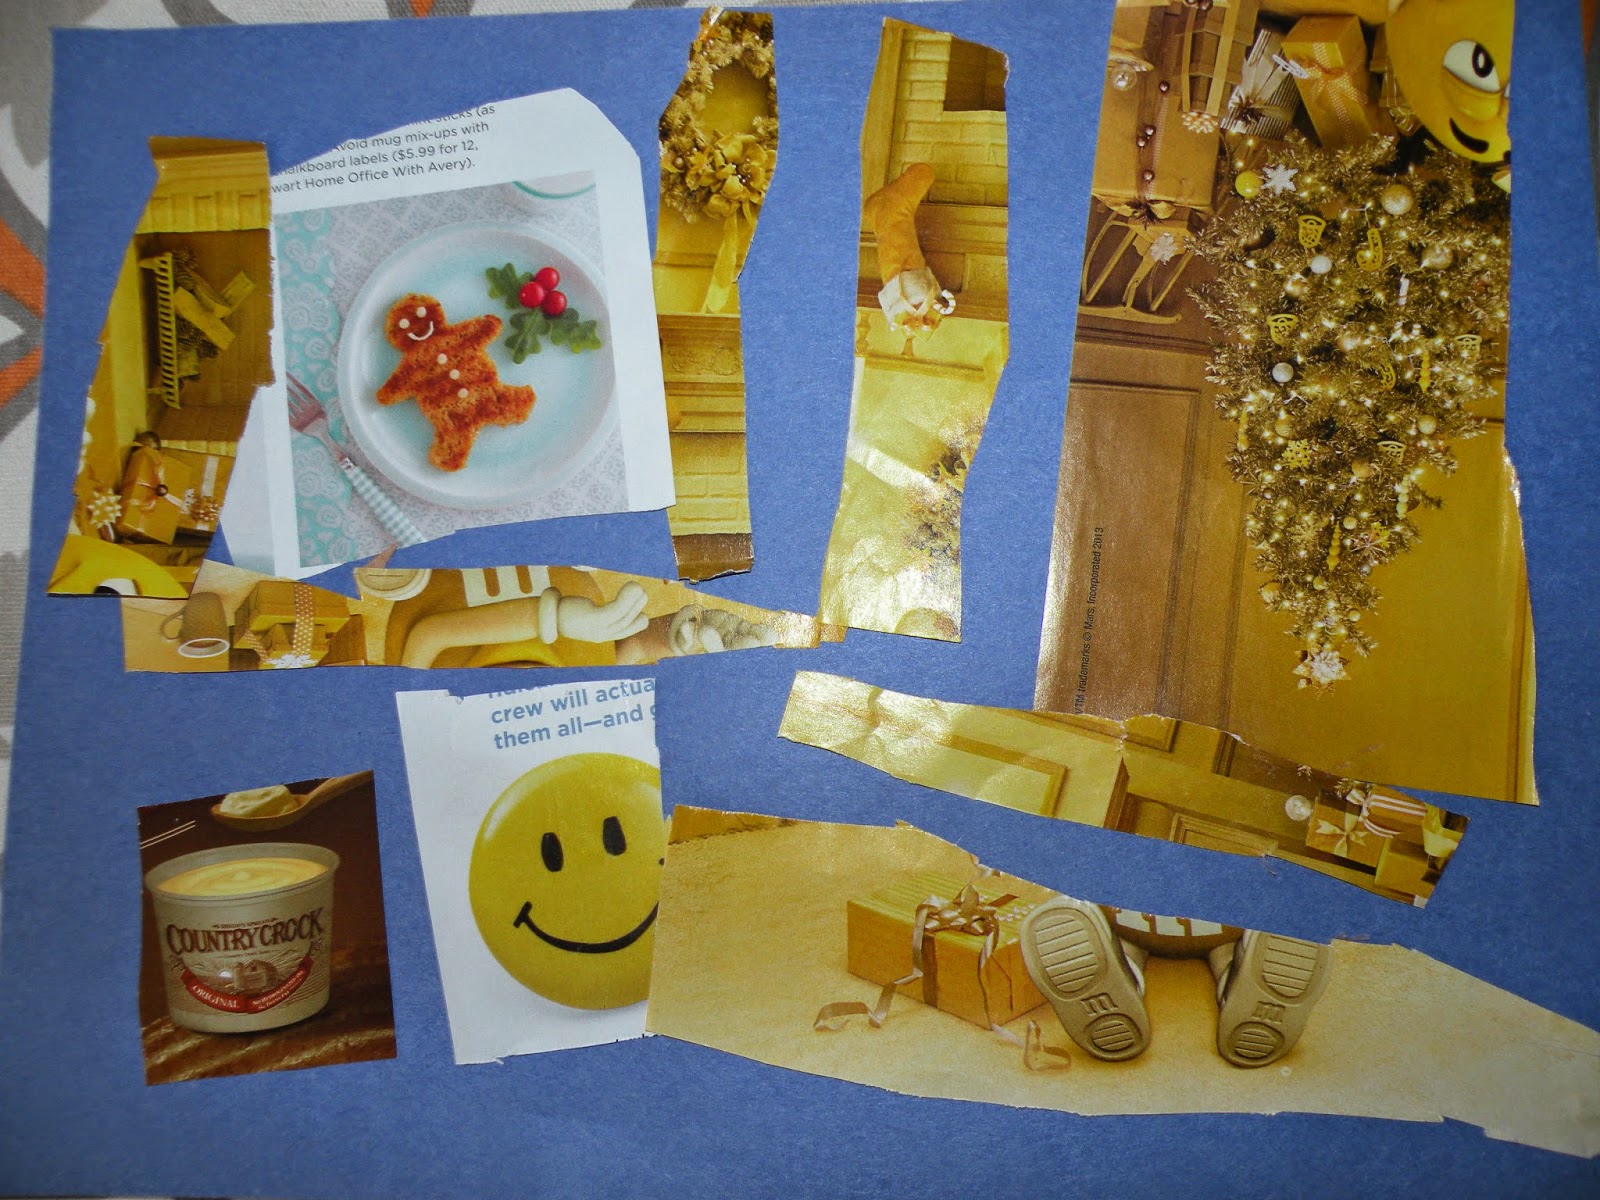
Thursday was all about yellow.  We, of course, started our school day by singing Something Yellow and hopping around to the yellow things we found.  I then gave Brooklyn a magazine, some scissors, a glue stick, and a piece of paper.  I told her to find things in the magazine that were yellow, cut them out, then glue them to her paper.  I had some yellow pineapple to cut up for snack, so I had Brooklyn work by herself on this activity in the kitchen.  When I went to check on her, I saw that she had done an excellent job without any help at all!!  I was very impressed!  
On Friday, I told Brooklyn the Bible story of the rich, young ruler from Mark 10:17-31.  We talked about loving God with all of our heart.  I cut out a big heart and a small heart and asked Brooklyn to tell me some things that she loves.  I wrote each thing on the small heart.  I told her that all of those things are wonderful things that God has blessed us with - it is ok to love them!  Then I wrote “God” on the big heart and told her how we should love God more than we love all of the things written on the smaller heart. Brooklyn finished up her craft by gluing the two hearts on a piece of paper.  

For details and instructions of these crafts and activities, please click to see my lesson plans.  If you have more ideas for the letter Y, please comment and share - I would love to hear them!!

Wednesday, May 28, 2014

X Week

We had an eXceptional X week!  As we are nearing the end of the alphabet, it is getting harder to come up with crafts and activities.  I mean, there are only a few common words that start with the letter X.  I did incorporate some words in this week’s lessons that didn’t actually start with the letter x, but all of the words still helped Brooklyn learn the x sound better. With that being said, we did some pretty fun stuff this week!  

On Monday, Brooklyn made a xylophone shaped like an X.  I cut four different colored strips of paper in different sizes.  Before Brooklyn glued them onto her x, I had her arrange them from biggest to smallest.  She then glued them on and added some little screws with a black marker.  She also did her x dot picture and practiced writing x’s.  

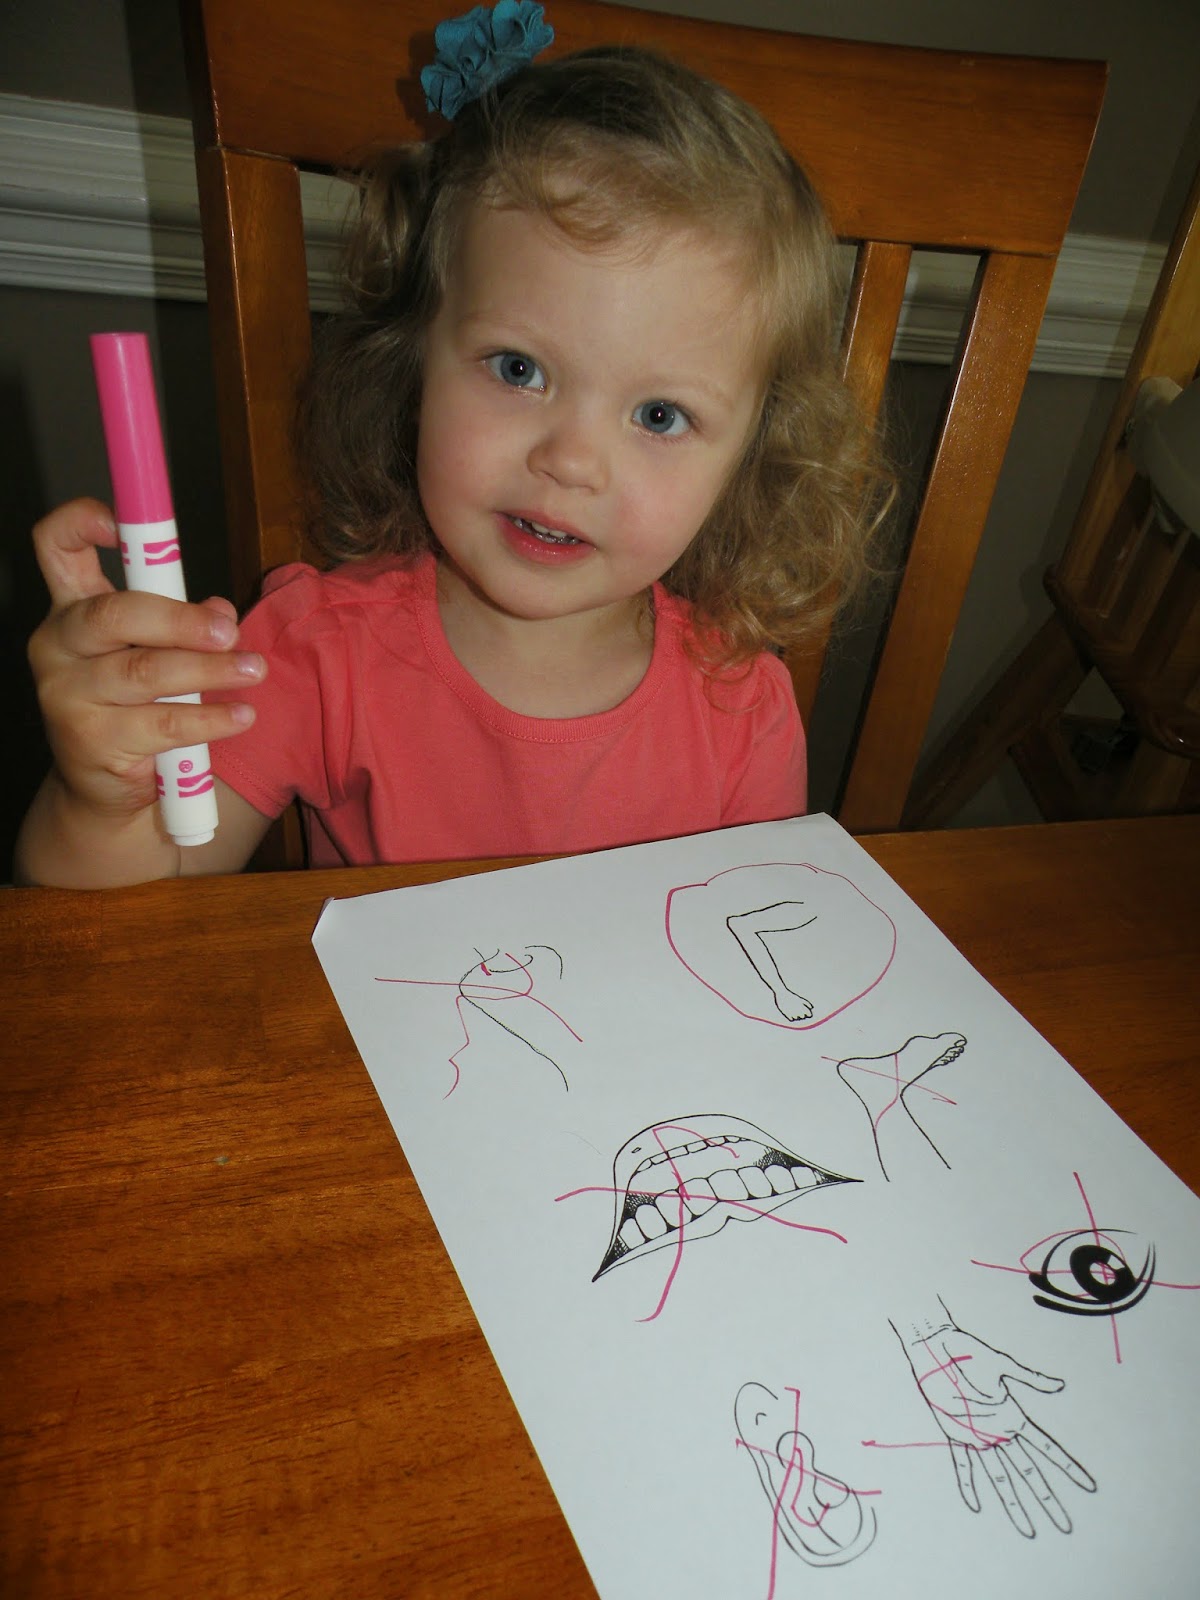
Tuesday was lots of fun as we talked about x-rays.  I showed Brooklyn some pictures of x-rays on the computer, and we talked about our bones.  We did a really cool craft where Brooklyn made her own x-ray of her arm and hand.  I got the idea from this website.  I traced Brooklyn’s hand and arm on a paper towel and let her use Elmer’s glue to draw bones inside.  Brooklyn then placed another paper towel on top and smoothed it out (to glue the two paper towels together).  I used a little bit of black watercolor paint in a small bowl of water to make the “x-ray ink.”  I placed the paper towels on a cookie sheet to keep the mess contained.  Brooklyn used a big paint brush (because I didn’t have a dropper - either will work fine!)  to paint/drip the black paint/”ink” over her x-ray to reveal her bones.  We then let it dry overnight.  There are so many fun x-ray crafts out there, and even though this one was a little messier and more time consuming than others, it was so much fun!  Once Dr. Brooklyn saw the x-ray of her arm, she continued playing doctor and did an eXam on her patient.  I printed out this page and gave it to Brooklyn, along with a marker.  I read off the exam list (in the lesson plans), and Brooklyn x-ed out the body part that went along with each clue.  In the end, she discovered that her patient had a hurt arm.  This was also a good way to practice writing x’s.


Dr. Brooklyn examining her patient 

Wednesday was MOPS.

Brooklyn made a xylophone painting on Thursday. I made four mallets by hot gluing pom poms to the end of straws (I was planning to use lollipop sticks but couldn’t find them so I used straws instead.  When using straws, be careful - the hot glue will melt them.)  Before she did her painting, she practiced playing her X xylophone that she made on Monday with the mallets.  I then gave her red, green, blue, and yellow paint - the same four colors of her four mallets.  She matched each mallet to its same paint color then one by one dipped a mallet in the paint and pretended to play a xylophone by gently banging the mallet all over the paper.  She had lots of fun making her colorful painting.  


Her xylophone painting
On Friday I told Brooklyn the story of Jesus dying on the cross for our sins.  We talked about Jesus’ love for us even when we do bad things.  We then made a crucifixion painting.  I used tape to make three crosses on a piece of paper.  I then let Brooklyn finger paint the entire piece of paper in the colors of her choice.  When she was finished, I removed the tape to reveal the three crosses.  

For details and instructions of these crafts and activities, please click to see my lesson plans.  If you have more ideas for the letter X, please comment and share - I would love to hear them!!

Tuesday, May 20, 2014

W Week

We loved talking about the weather all week while we were learning about the letter W.  Brooklyn really enjoyed singing The Weather song every day as we talked about what kind of weather we were having that day.  Since the weather was beautiful most days this week, we enjoyed doing our circle time songs while swinging in the backyard almost every morning.  We also observed some worms while playing in the backyard, although my cautious little girly girl wasn’t too interested in getting too close!  

Brooklyn glued together her whale W picture - complete with water shooting out of his blowhole on Monday.  She also practiced writing W’s and did her dot W picture.  Lately, M’s and W’s have been her favorite letters to write!

On Tuesday, Brooklyn made her watermelon craft.  I cut a half circle out of white paper and drew a 1 inch border around the rounded edge of it.  I first gave Brooklyn green paint and a paintbrush and told her to only paint the outer edge to make the rind of the watermelon.  Next, I have her red paint and a sponge and let her sponge paint the inside of the watermelon.  Once it was dry, I gave her a black marker and let her add seeds to complete her watermelon.  


We had fun picking strawberries on Wednesday!

Brooklyn really enjoyed Thursday’s window craft.  I let her pick two different colored papers to use for her house - she chose pink and yellow.  I used the pink one for the house and started by cutting the top of the paper to make a roof.  Next, I cut four windows in the house.  I let Brooklyn glue her house of windows to the piece of yellow paper - making sure not to glue the windows.  I asked her what/who she wanted to draw in each window, and she chose to draw mommy, daddy, Madelyn, and herself in each of the windows.  Finally, she added some stickers to decorate her house.  Later, we went through our house and counted all of the windows.  


On Friday, I told Brooklyn the story of the woman at the well.  We talked about how the woman was very thirsty just like we get thirsty sometimes, but what she really needed Jesus.  We talked about how we need Jesus just like we need water to drink and food to eat.  Brooklyn then colored the picture of the woman at the well.

For details and instructions of these crafts and activities, please click to see my lesson plans.  If you have more ideas for the letter W, please comment and share - I would love to hear them!!

Thursday, May 15, 2014

V Week

We took a couple of weeks off of school around Easter for a little spring break and a week of Easter crafts.  Once again, getting back into the swing of things after taking a break was difficult (especially with the nice weather again!).  We only ended up doing three days of activities out of the five I had planned - but we still had lots of fun!  On our “Vacation” themed day we were able to incorporate many different activities which made up for some of the ones we missed.  I spent lots of time preparing, and Brooklyn and I spent an hour or more enjoying the different activities at each stop on our pretend vacation.  It was also fun to sing our Vacation song and pretend to travel on different forms of transportation along the way.  

Monday was typical with the introduction of the letter v and the song, poem, and verse that went along it.  Brooklyn glued together her vase full of violets and practiced writing v’s on the chalkboard.  

Tuesday we talked about vegetables.  I used some of Brooklyn’s pretend food from her kitchen to show her which ones are fruits and which ones are vegetables.  We talked about the different ways vegetables grow - some grow underground and others grow above the ground on a plant.  I then gave her a print-out of different vegetables that she colored.  As she colored, we talked about what color they usually are.  In the original instructions for the craft, it says to use two paper plates.  I decided to cut large circles out of construction paper instead.  I cut three large circles, all the same size, one was blue, one brown, and I let Brooklyn choose the other color - she chose orange.  I then let Brooklyn cut the blue circle in half and glue it to the top half of the brown circle to create the sky (the brown represented the ground).  After cutting each of her vegetables out, we talked about where they grow, and Brooklyn glued them either underground or above ground.  Once all of her vegetables were in place, I cut the orange paper in half (to match the skyline that Brooklyn had cut).  I placed a brad on the edge of the circle to attach the top and bottom of the orange paper to the sky and ground paper.  I then labeled the top half “above ground” and the bottom half “underground.”  Later, as Brooklyn ate some carrots with her lunch, we talked about the benefits of eating lots of yummy vegetables.  


We had MOPS on Wednesday.

Thursday was our big Vacation day.  I started by having Brooklyn color each of the six vacation signs and cut them out (she always loves cutting!).  Next, we made a vest.  I cut a paper bag to make the vest then used some of the extra paper to tape on a pocket.  For some reason Brooklyn was scared of the vest and didn’t want to touch it.  I was planning to have her decorate it and then wear it for our vacation so she could put the signs in her pocket as she collected them.  Oh well, things don’t always go as planned!  Next, I had her play by herself for a few minutes while I set everything up around the house.  Once everything was ready, we sang the vacation song and pretended to zoom like an airplane to our first stop.  Brooklyn was instructed to find the signs in order from numbers 1 - 6.  Several times along the way, we would stop and read out the numbers she had collected so far to see which one was next.  Here’s how I set it up and what we did at each stop.  Stop 1 was the violin.  I placed the sign beside a stick and when we arrived, we pretended to play our pretend violins and make music.  We sang along as we played.  Stop 2 was a volcano.  I placed the sign beside a volcano experiment (I used brown paper to form a mountain around a small bowl with baking soda inside.  I put it on a cookie sheet and placed a measuring cup full of vinegar beside it for Brooklyn to pour inside to make a volcano erupt).  We visited “Hawaii” and watched a volcano erupt.  Stop 3 was vegetables.  I placed the sign beside a play basket and had placed vegetables around on the floor for Brooklyn to collect in her basket.  We had fun visiting a “garden” and picking some fresh vegetables.  Stop 4 was a vineyard.  I placed the sign beside a bowl of grapes in the kitchen.  We talked about how grapes grow on a vine and pretended to sit in a vineyard as Brooklyn enjoyed her grapes for snack.  Stop 5 was violets.  The sign was on the back door.  We went outside and picked some flowers (we pretended like they were violets).  Our last stop, stop 6, we were back at home and had to vacuum up a messy house after a busy vacation.  We finished up our busy school day by stringing the six signs together to make a scrapbook of our vacation.  
Making her volcano erupt 
She picked lots of yummy vegetables
Stopping at the vineyard to eat her grapes
Brooklyn's vest with her cards in the pocket (even though she wouldn't put it on).


For details and instructions of these crafts and activities, please click to see my lesson plans. If you have more ideas for the letter V, please comment and share - I would love to hear them!!

Monday, May 5, 2014

U Week

The most common U word I can think of is umbrella.  Umbrellas are so much fun, and kids always seem to love holding them while walking in the rain.  I was hoping for at least one rainy day during U week, but instead we had absolutely beautiful weather the whole week.  I can’t complain about that though!  We did pretend like it was raining and played with umbrellas outside anyway.  Brooklyn loved our Umbrella Song and poem, and we enjoyed pretending to be an umbrella while singing and dancing around.  Since the weather was so nice this week, we did our circle time activities and songs outside most days.  My girls love to swing and that always provides a great time to practice counting, spelling their names, and singing songs.


On Monday I introduced the letter U and Brooklyn did her U dot picture.  Of course her U picture was an umbrella, which she enjoyed gluing together.  


On Tuesday we talked about things that live underwater.  We talked about fish, seashells, whales, dolphins, seaweed, and other ocean creatures.  We watched a couple of youtube videos of underwater life.  I printed out a page of underwater creatures that Brooklyn colored with her do-a-dot markers.  Brooklyn also finger painted a light blue piece of paper with dark blue finger paint to make an ocean.  Once everything was dry, I cut out the underwater creatures, and she glued them into her ocean.  


Wednesday was our umbrella day.  I gave Brooklyn a coffee filter and some water color paints and let her cover the coffee filter with lots of beautiful colors.  Once it was dry, she folded it in half, glued it together, and glued on a handle to make an umbrella.  For snack, we made an umbrella using half of a Babybel cheese and a small piece of a bendy straw.  


Thursday was such a beautiful day outside!  We decided to spend the morning at the park, and we even packed a picnic lunch.  We never got around to doing school.


I had a hard time coming up with a Bible lesson for the letter U.  After much research, I found the story of King Uzziah who is mentioned in 2 Chronicles 26.  As I read about King Uzziah, I was challenged myself to always rely on God and give Him the glory for what He does in my life.  It is very easy to take credit for the things I accomplish in my life (especially when everything is going good).  I must remember that God is enabling me and empowering me with His strength - not my own - and always remember to thank Him for working through me.  I told Brooklyn about how King Uzziah loved God and how God blessed him.  King Uzziah had lots of things, did a lot of good things, and became very well liked and very powerful.  He started to become prideful and stopped being faithful to God.  Because of this, God gave him leprosy which caused him to have to live by himself and lose all of his power.  King Uzziah stopped relying on God and started relying on himself.  He started thinking he could do things on his own and stopped thanking God for helping him.  What a good lesson that we all can learn from.     


For details and instructions of these crafts and activities, please click to see my lesson plans.  If you have more ideas for the letter U, please comment and share - I would love to hear them!!